A step-by-step tutorial for creating an blue ocean scene

Disclosure: This post contains affiliate links, meaning if you make a purchase via the links, we will earn a commission at no additional cost to you. Please read the full disclosure.

Disclosure: This post contains affiliate links, meaning if you make a purchase via the links, we will earn a commission at no additional cost to you. Please read the full disclosure.

watercolor

Before we begin, let’s gather the essential materials you’ll need for this watercolor tutorial:

With these materials at hand, you’ll be well-equipped to embark on your watercolor skyline painting journey.

Introduction to Watercolor Ocean Paintings

Capturing the essence of the vast and ever-changing ocean in a painting is a challenge that has captivated artists for centuries. The fluid nature of water, the dance of light on its surface, and the intricate details of ships and boats make for a subject that demands both technical skill and artistic vision. In this article, I will guide you through the process of creating a stunning watercolor ocean scene, complete with two boats, using a step-by-step approach that will help you master the techniques and principles involved.


Watercolor painting is a medium that lends itself beautifully to the depiction of water, with its ability to blend and flow seamlessly. The transparency of the pigments allows for the creation of luminous layers and the illusion of depth, making it an ideal choice for capturing the dynamic interplay of light and shadow on the ocean’s surface. Whether you are a seasoned watercolorist or a beginner, this tutorial will provide you with the tools and guidance necessary to bring your vision to life on paper.

watercolor

Step 1

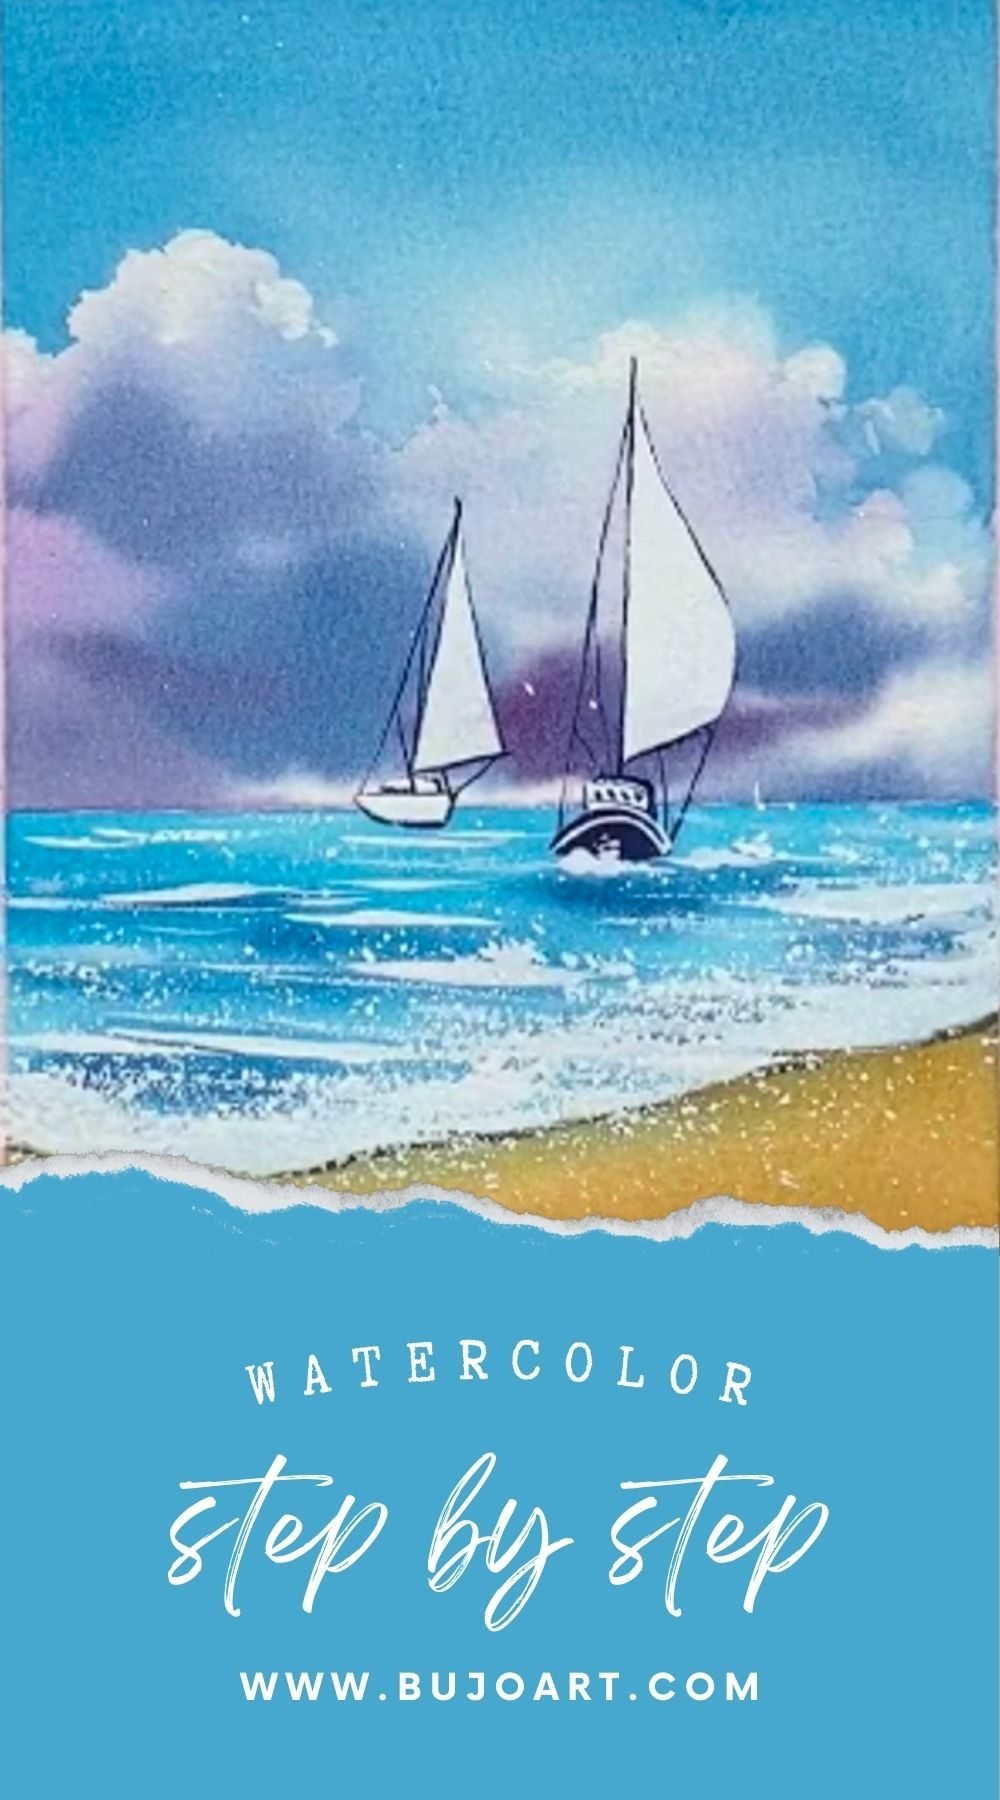
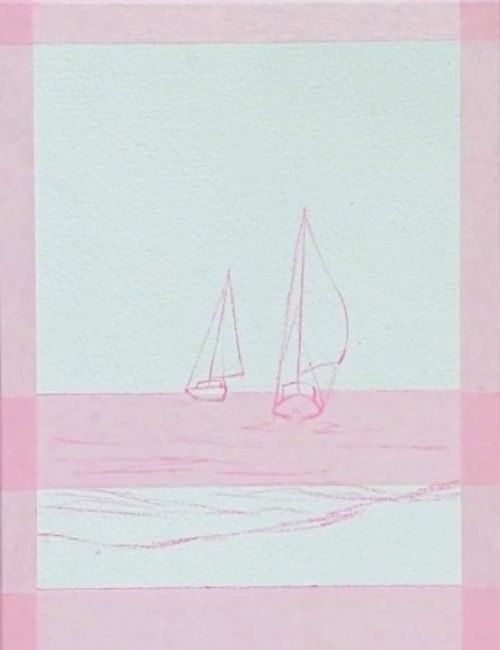
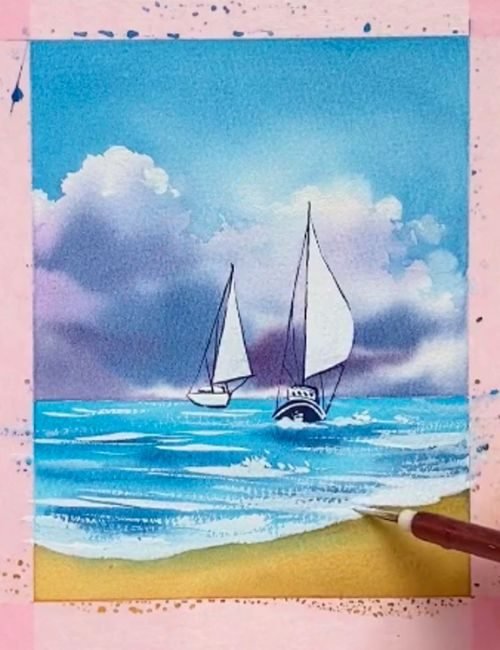
Sketch the Composition: The first step in creating a successful watercolor ocean scene is to establish a solid composition. Begin by sketching a rough outline of the scene on your watercolor paper, paying close attention to the placement of the horizon line, the boats, and any other elements you wish to include. When sketching the boats, consider their size, shape, and position relative to the horizon line and the overall scene. Study reference images or photographs to capture the details and proportions accurately.

watercolor

Step 2

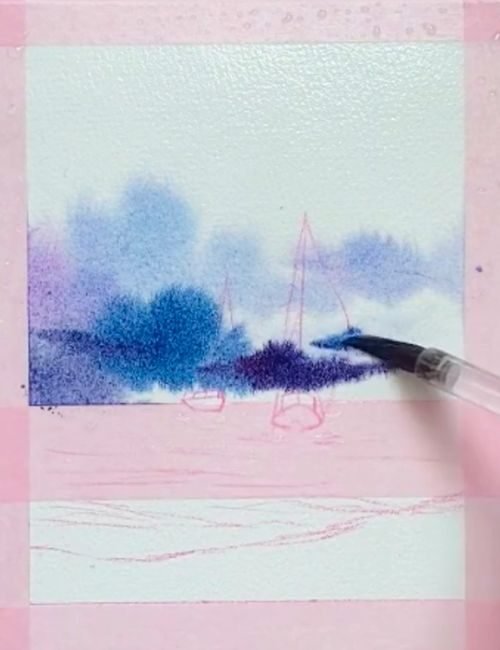
Set the Mood with the Sky: The sky plays a crucial role in setting the mood and atmosphere of your ocean scene. Use wet-on-wet techniques to establish the first thin layer of the sky. Apply the mixed color of sky blue and violet red on the wet paper.

watercolor

Step 3

Enhance the depth of the clouds: Apply darker blue such as Prussian blue to create the loose shapes of clouds. Remember to leave some areas of the paper untouched to preserve the white highlights, which will add sparkle and interest to your sky.
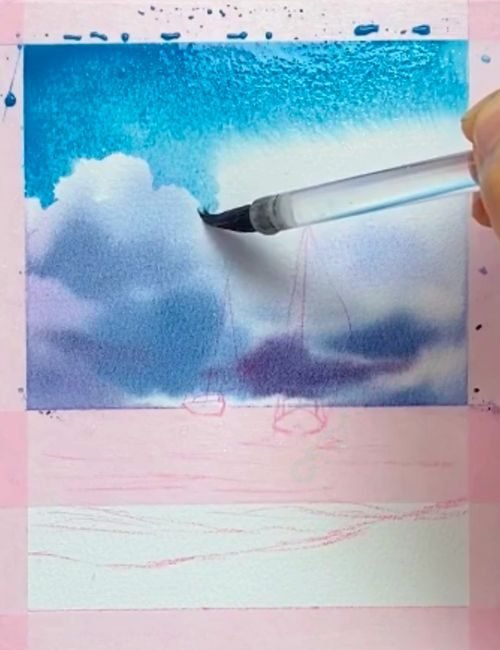
watercolor

Step 4

Define the hard edge of the clouds: Wait for the first layer of sky gets dried. Then apply a second wash of blue starting from the top of the paper. Outline the edges of the clouds with delicate brush strokes.
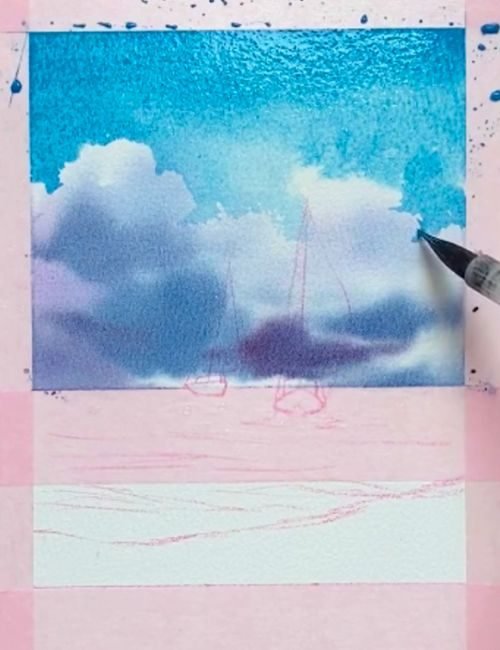
watercolor

Step 5

Finish the painting of clouds: Use the tip point of the round brush to create subtle variants of the edges of the clouds.
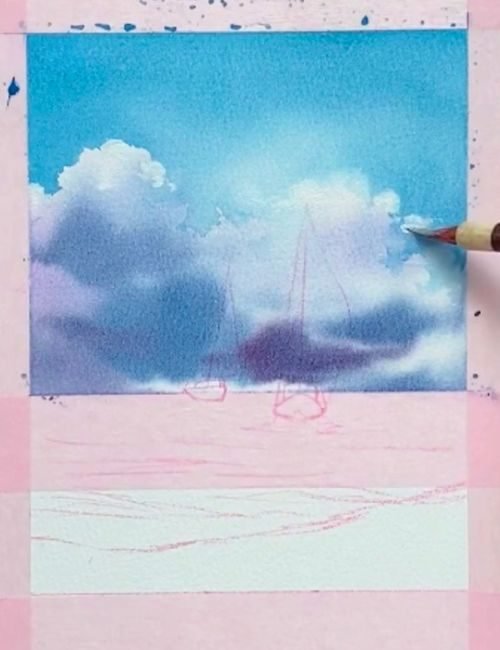
watercolor

Step 6

Redefile the highlights of the clouds: If you are not satisfied with the shapes of the clouds, consider using white paint to add more details of the clouds.
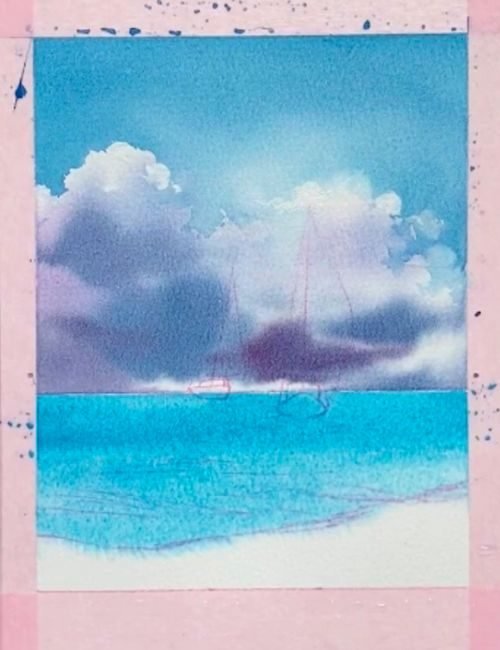
watercolor

Step 7

Paint the ocean: With the sky in place, it's time to tackle the horizon line and the distant ocean. Begin by mixing a cool blue hue, such as cerulean or ultramarine, and paint a thin, horizontal line to represent the horizon. Then, gradually add more water to your paint mixture and apply a series of horizontal washes below the horizon line, creating a gradual transition from darker to lighter tones as you move towards the bottom of the paper.
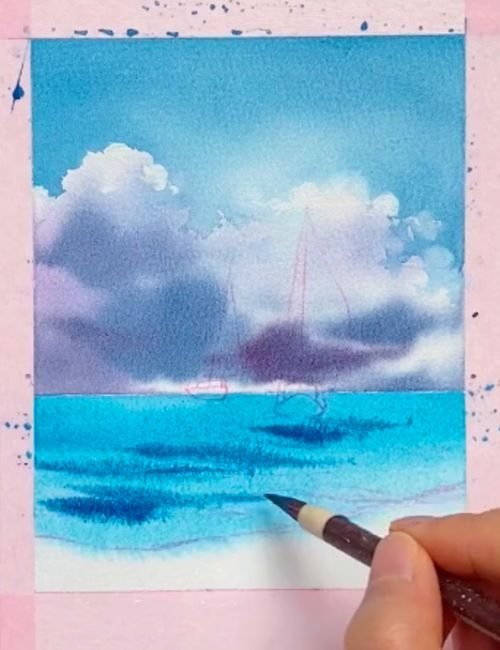
watercolor

Step 8

Add Waves and Texture to the Water: Start by mixing a variety of blue and green hues, ranging from deep indigos and teals to lighter aquas and turquoises. Using a round brush, begin painting long, horizontal strokes to represent the crests of the waves. Vary the thickness and intensity of your brushstrokes to create a sense of depth and movement.
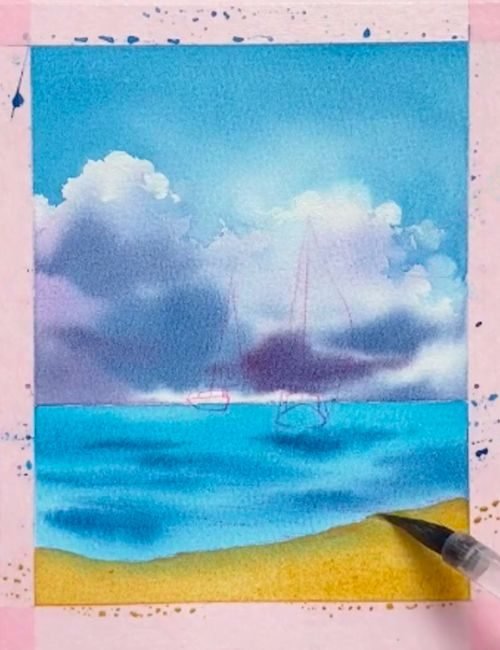
watercolor

Step 9

Paint the sandy beach: Start by mixing yellow ochre and the blue to create a dull yellow shade. Apply the paint to the sandy beach area and finish the painting of the foreground.

Step 10

Paint the Boats: Start by painting the boats themselves, using white paint.
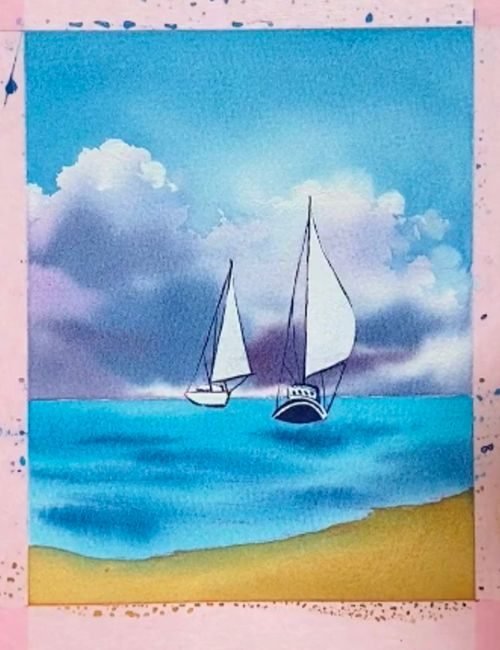
watercolor

Step 11

Outline details of the boats: Out line the details of the boats with a fine liner.
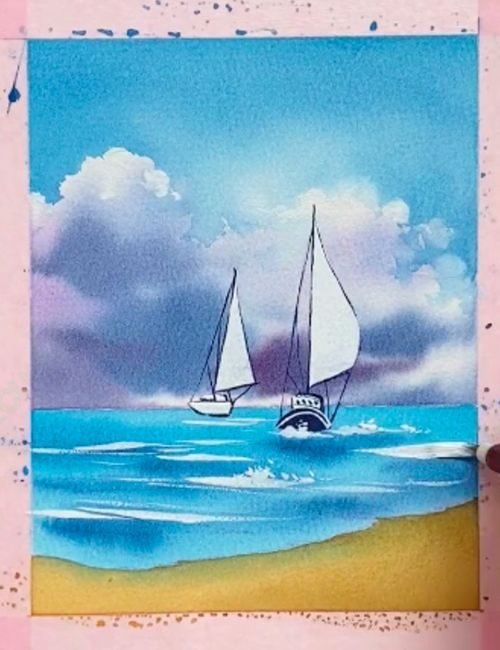
watercolor

Step 12

Add reflections of the waves: Add reflections and white waves on top of the blue waves.

watercolor

Step 13

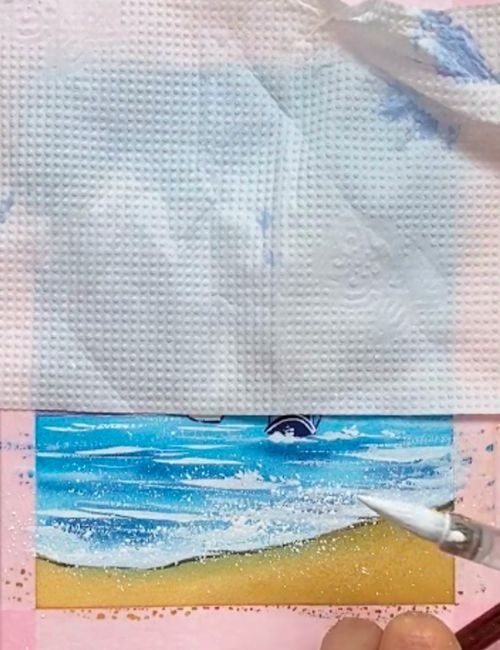
Add textures to the water: Use dry brush to create uneven white marks along the waves. ( Optional ) To add more texture and interest, consider using techniques like salt sprinkling. Salt, when sprinkled on damp watercolor areas, will create unique crystalline patterns that mimic the foam and spray of crashing waves.

watercolor

Step 14

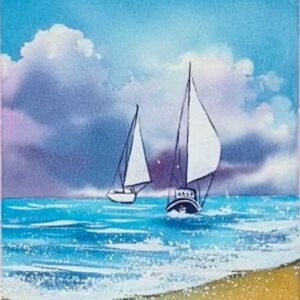
Final Touches and Finishing the Painting: You can use a brush to flick white paints on to the water area to mimic ripples on the seashore. Once you're satisfied with your painting, allow it to dry completely before applying a protective varnish or fixative, if desired.

Creating a watercolor ocean scene with two boats is a rewarding and challenging endeavor that requires a combination of technical skill, artistic vision, and patience. By following the step-by-step process outlined in this tutorial, you’ll not only develop your watercolor painting abilities but also gain a deeper appreciation for the beauty and complexity of the ocean and its inhabitants.


Remember, the key to success in watercolor painting is practice, experimentation, and a willingness to embrace the unpredictable nature of the medium. Don’t be discouraged by setbacks or imperfections; instead, view them as opportunities for growth and learning.


If you found this tutorial helpful and would like to continue exploring the world of watercolor painting, consider joining our online community. We offer a range of resources, including video tutorials, live workshops, and a supportive network of fellow artists. Sign up today and embark on an inspiring journey to master the art of watercolor painting. As you embark on your watercolor journey, remember to embrace the process, stay curious, and never stop exploring the endless possibilities of this captivating medium. Happy painting!

Trending Posts

Follow Us

Welcome to Bujoart, where creativity knows no bounds! At Bujoart, we believe that art is not just a skill, but a form of expression. Whether you’re a seasoned artist or just starting out on your creative adventure, we have something for everyone.

Popular Articles
Newsletter
Subscribe for more!
Categories
Instagram
Facebook Group
Edit Template