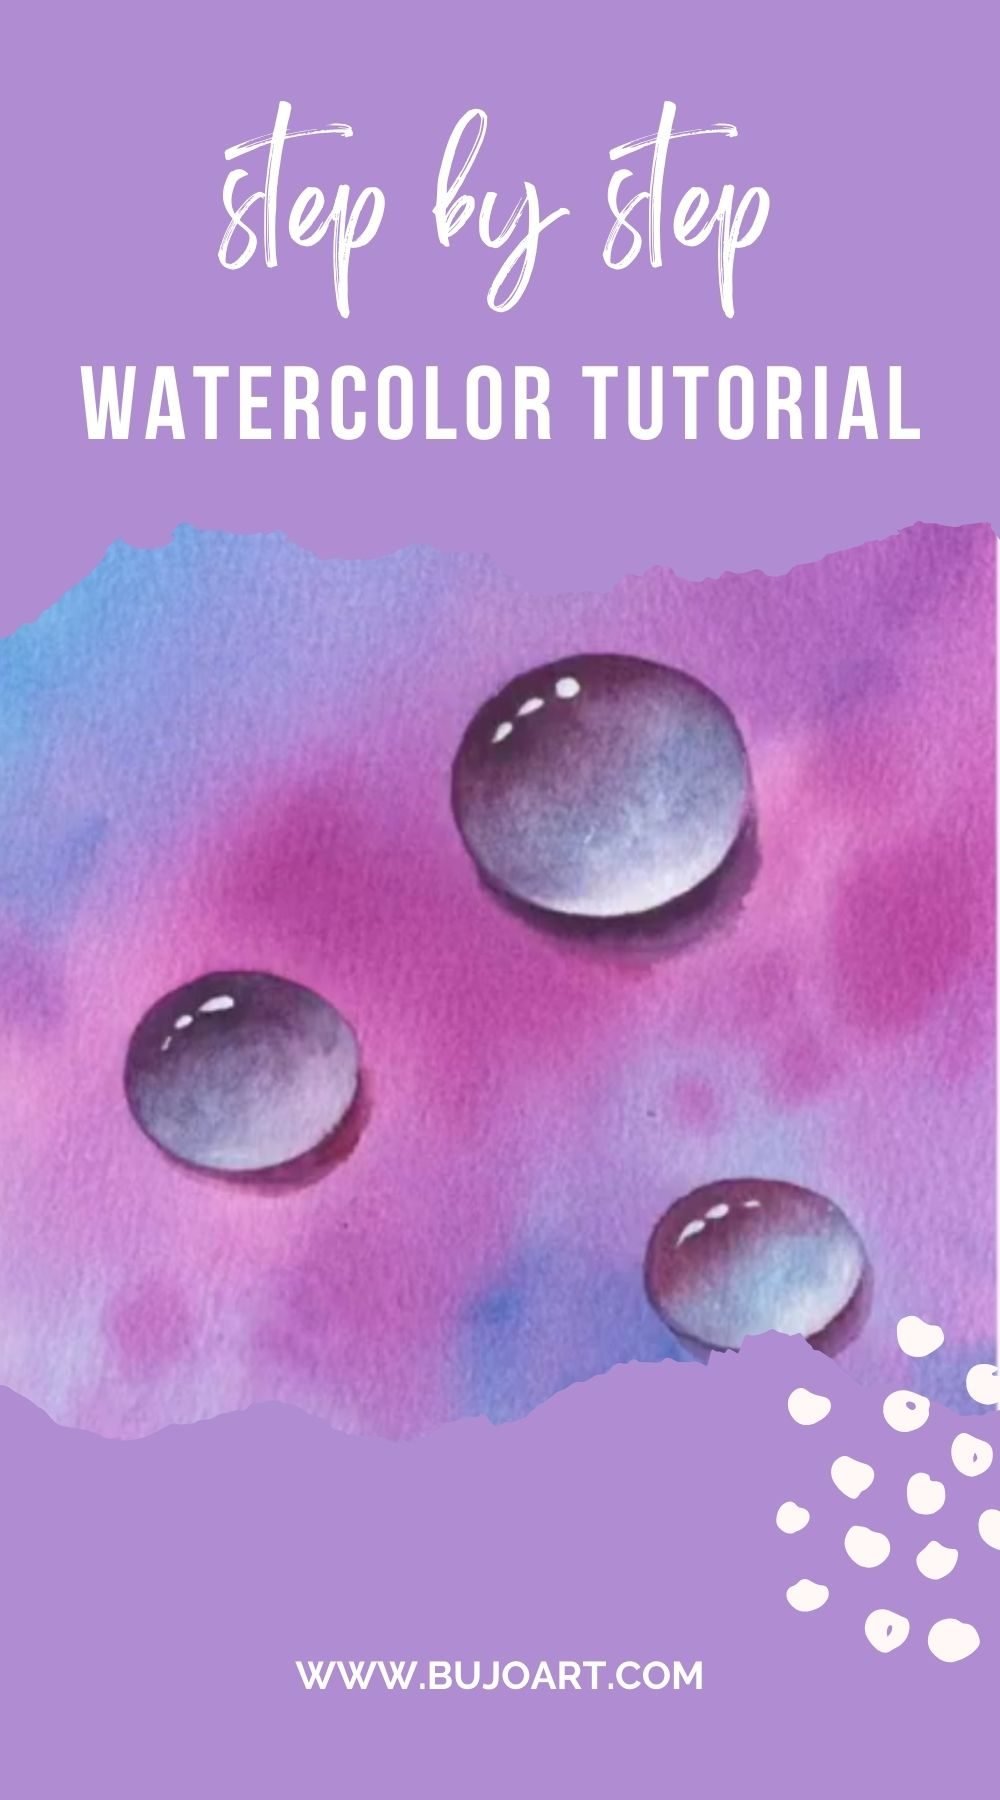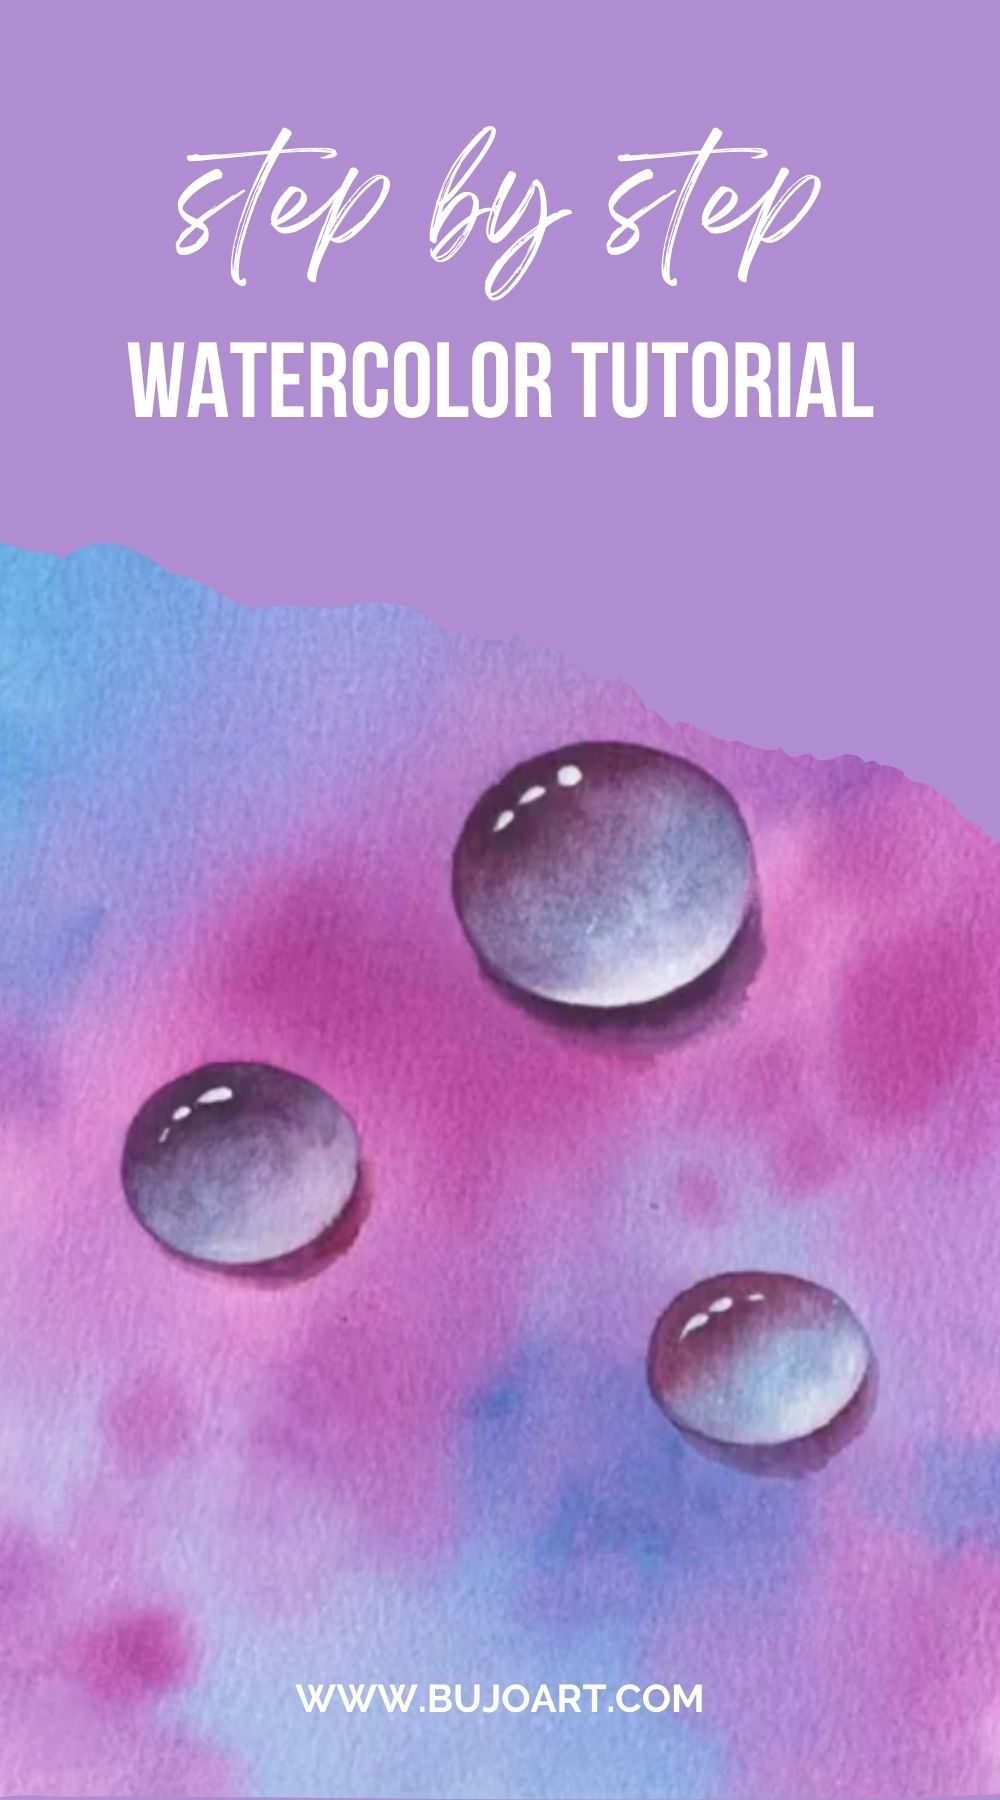
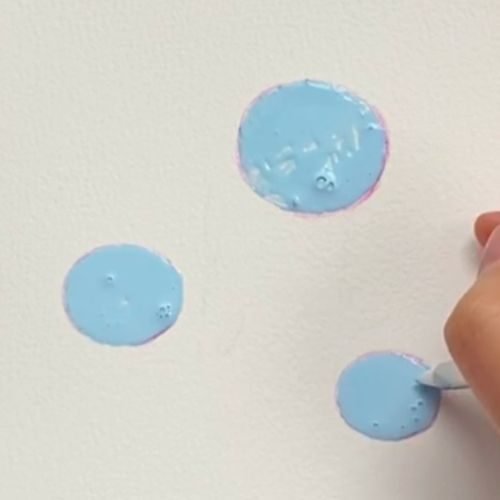
Step 1
Sketch the outline: Begin by lightly sketching the outline of your water drop on the paper. Fill the shape of spheres with watercolor masking fluid.
Step 2
Establish the Wet-on-wet background: Apply the clear water onto the whole page to create the wet-on-wet base for the background.
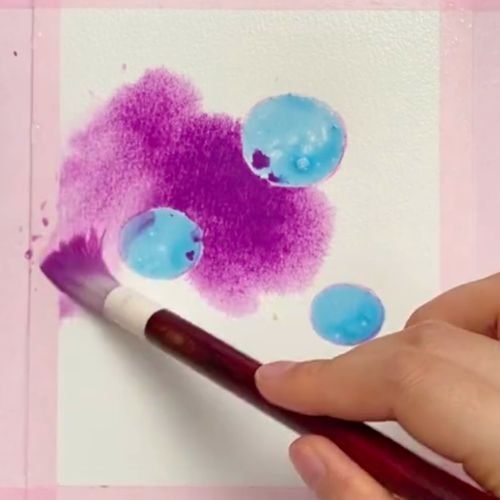
Step 3
Establish the background: Start by painting a mixture of blues and violets to create a sense of depth. Apply the paint in thin, translucent layers, allowing the colors to blend seamlessly.
Step 4
Create the gradient in the background: Use a combination of lighter and darker tones to depict the distorted reflections of the surrounding environment.
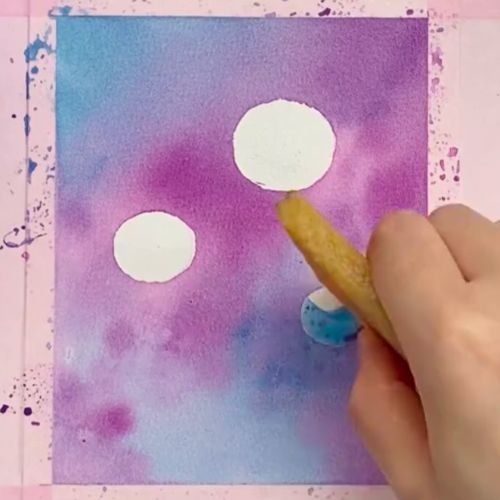
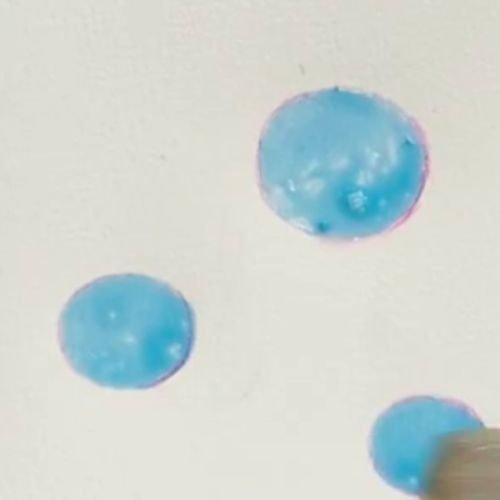
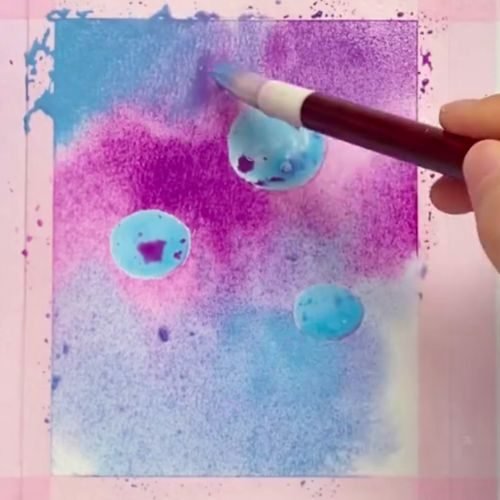
Step 5
Remove the masking film: Once the background gets dried fully, remove the masking film.
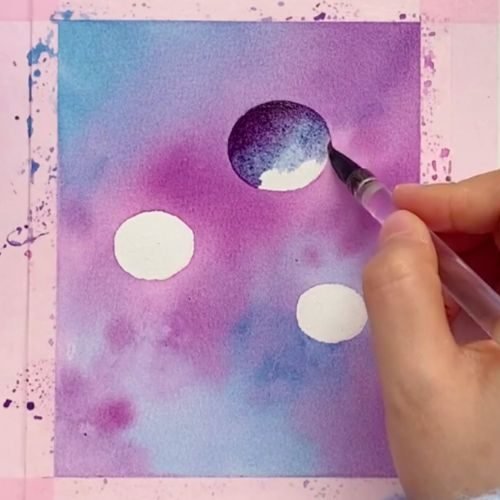
Step 6
Establish the core: Start by painting the core of the water drop, using a mixture of dark purple and sky blue to create a sense of depth and transparency. Apply the paint in thin, translucent layers, allowing the colors to blend seamlessly.
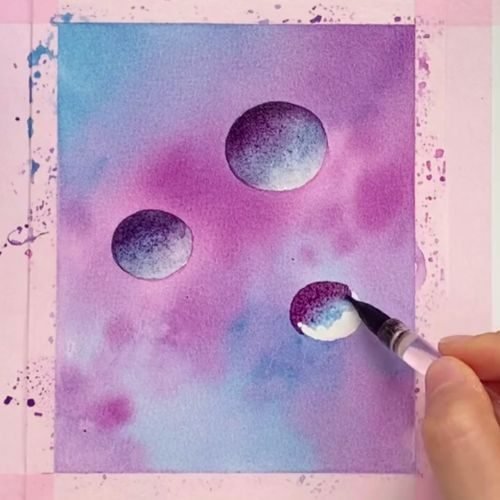
Step 7
Add reflections and refractions: Once the core is established, it's time to introduce reflections and refractions. These elements are crucial for creating the illusion of depth and capturing the essence of a water drop. Use a combination of lighter and darker tones to depict the distorted reflections of the surrounding environment.
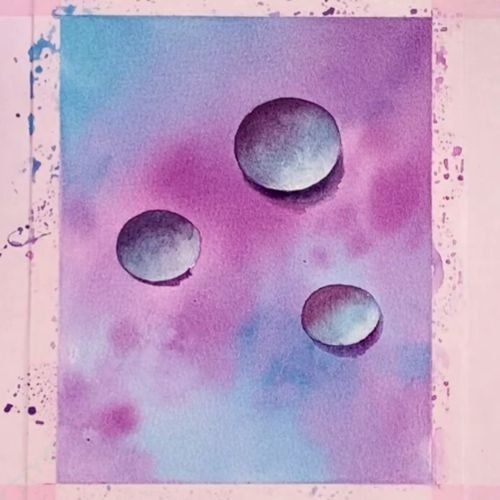
Step 8
Introduce shadows and highlights: Shadows and highlights play a vital role in creating a sense of dimension and realism in your water drop painting. Use a mix of darker and lighter tones to create subtle shadows and highlights, paying close attention to the areas where the drop meets the surface.
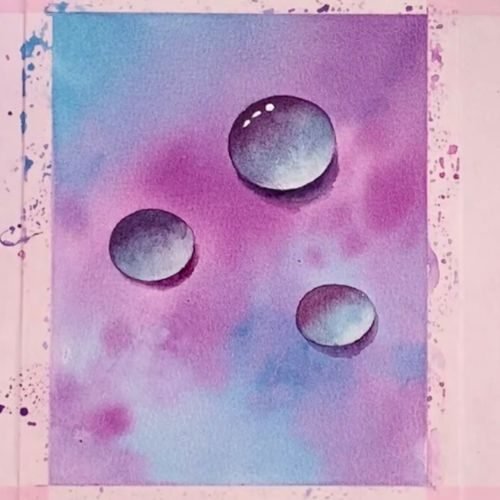
Step 9
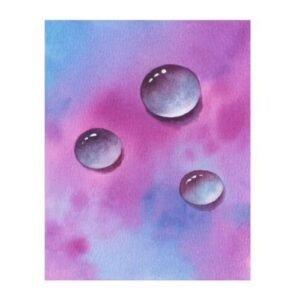
Refine the details: As you progress, take the time to refine the details of your water drop painting.