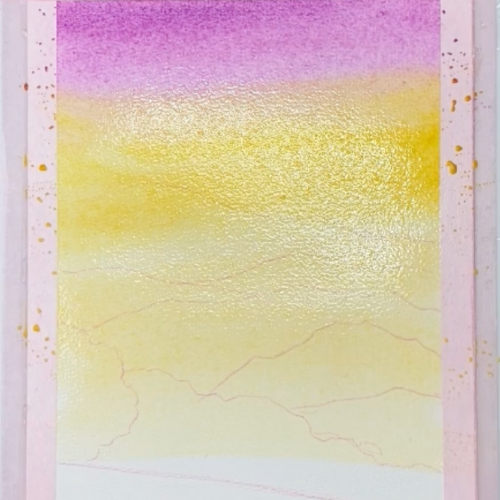
Step 1
Apply the First Wash: Start with a wet-on-wet wash for the sky and distant mountains. Use light, diluted colors to establish the background.:
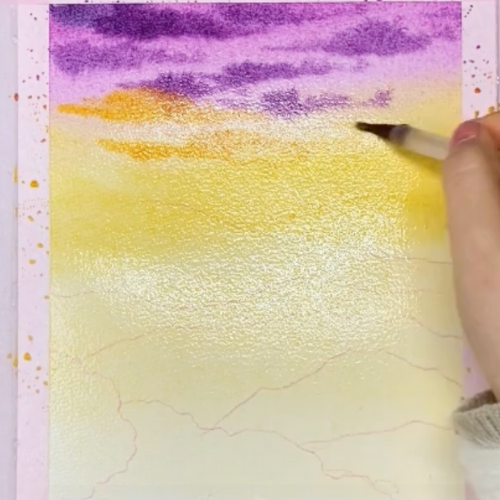
Step 2
Adding clouds using wet-on-wet technique:
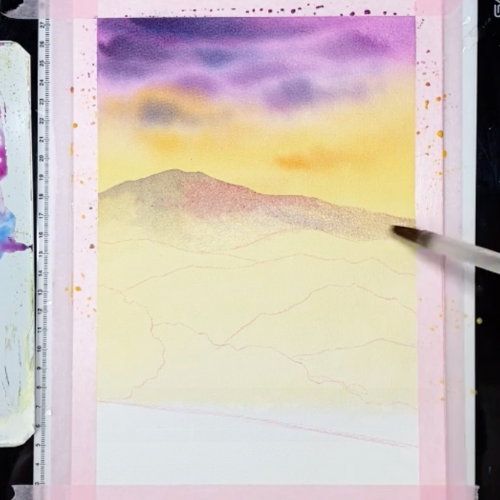
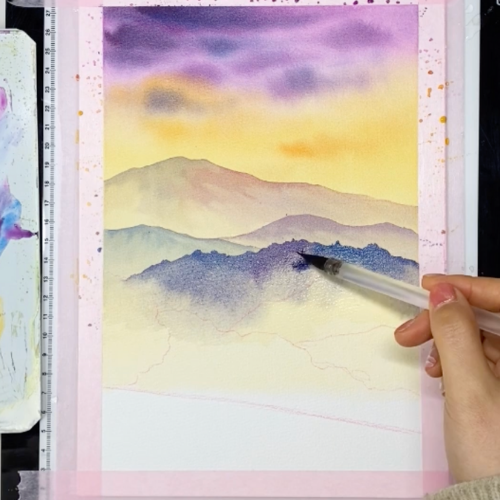
Step 3
Develop the Midground: Once the background is dry, use wet-on-dry techniques to add midground elements, such as tree lines and hills. Gradually build up layers to create depth.:
Step 4
:

Step 5
:
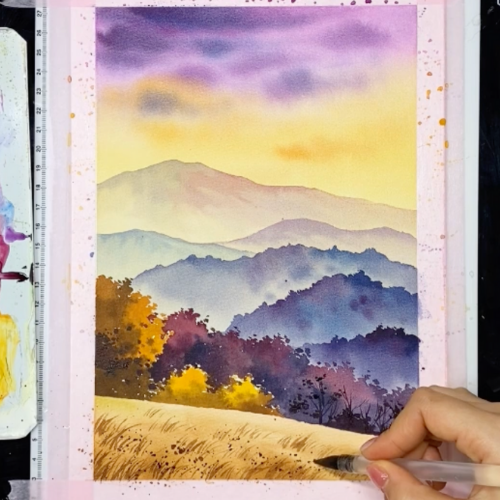
Step 6
Add Foreground Details: Focus on the foreground by incorporating more detailed and darker elements. Use smaller brushes for precision.:
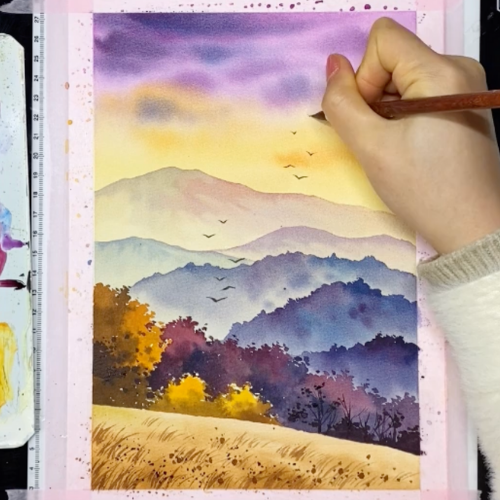
Step 7
Refine and Add Final Touches: Evaluate your painting and make any necessary adjustments. Add highlights or shadows to enhance contrast and depth.: