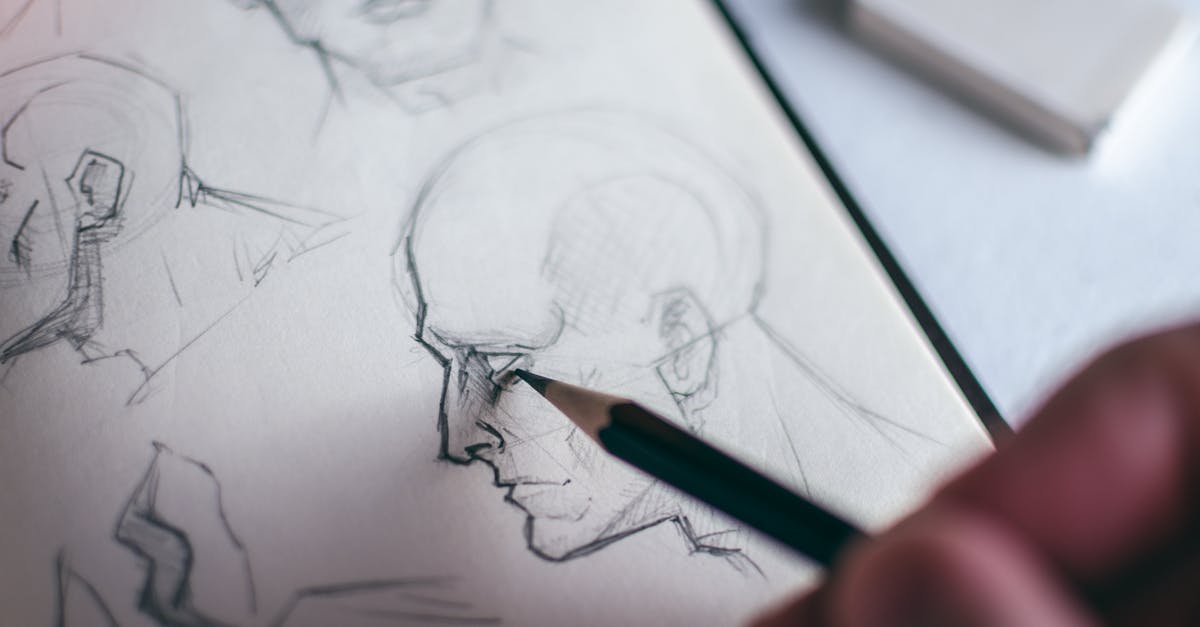
Introduction to Head Drawing: The Foundation of Portrait Art
Head drawing serves as the cornerstone of portrait art, enabling artists to capture the essence of human expression and individuality. Whether you’re a novice picking up a pencil for the first time or an experienced artist looking to refine your skills, mastering the art of head drawing is crucial for creating compelling portraits.
In this comprehensive guide, we’ll explore various techniques, from basic proportions to advanced rendering methods, that will help you elevate your head drawing abilities. By understanding the underlying structure of the human head and practicing consistently, you’ll develop the skills necessary to bring your portraits to life.
As we delve into the intricacies of head drawing, remember that patience and perseverance are key. Each stroke of your pencil or stylus is an opportunity to improve, so embrace the learning process and enjoy the journey of artistic growth.
Understanding Head Proportions and Structure
Before you begin sketching, it’s essential to grasp the fundamental proportions and structure of the human head. This knowledge will serve as your foundation, allowing you to create accurate and believable representations.
The average human head can be divided into three roughly equal sections:
- From the hairline to the eyebrows
- From the eyebrows to the bottom of the nose
- From the bottom of the nose to the chin
Additionally, the width of the head is typically about five eye-widths across. Keep in mind that these are general guidelines and may vary depending on individual features and perspective.
To better visualize the structure, imagine the head as a series of geometric shapes:
- The cranium as a sphere
- The jaw as a modified cube or cylinder
- The nose as a wedge or pyramid
- The eyes as spheres set into sockets
By breaking down the head into these basic forms, you’ll find it easier to construct a solid foundation for your drawings.
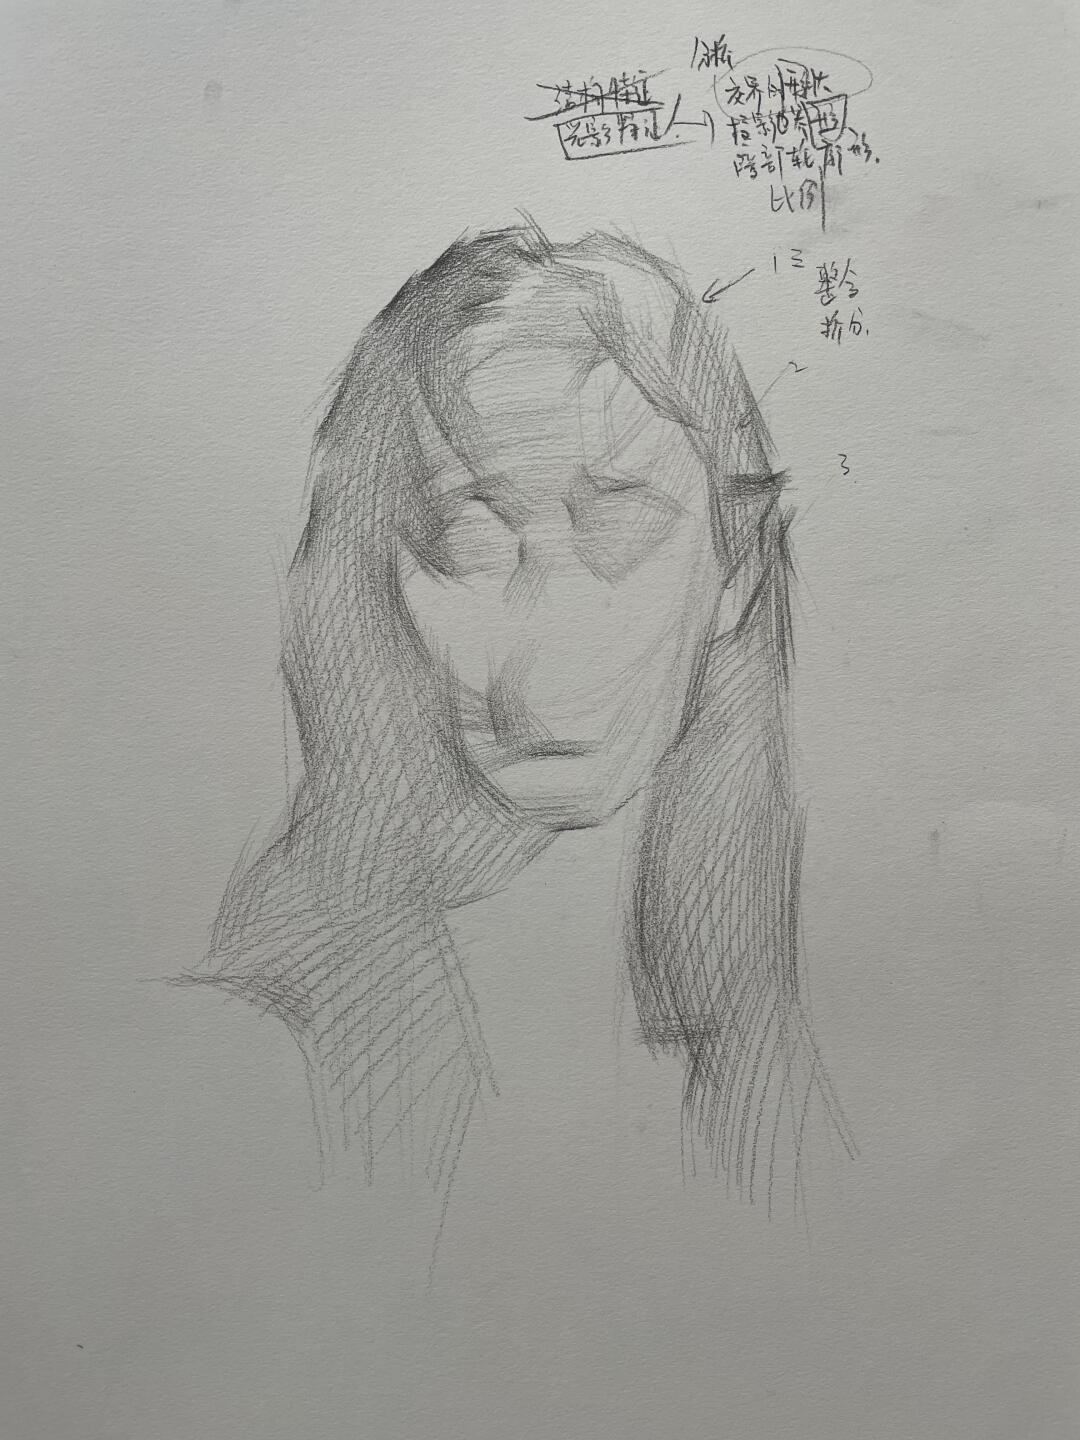
Credit: 张添中素描
Draw a Basic Head
Now that you understand the proportions and structure, let’s walk through a step-by-step process for drawing a basic head:
- Start with a circle: Draw a large circle to represent the cranium. This will form the top and back of the head.
- Add the jaw: Extend two lines downward from the circle at roughly 45-degree angles. Connect these lines with a curved line to form the jaw and chin.
- Mark the facial features: Divide the face into thirds as mentioned earlier. Draw a horizontal line across the middle of the circle for the eyes. The bottom of the nose will sit on the line marking two-thirds down the face, and the mouth will be about halfway between the nose and chin.
- Sketch the eyes: Place the eyes on the horizontal line, spacing them about one eye-width apart.
- Draw the nose: Starting from between the eyes, sketch the bridge of the nose down to the mark you made for the bottom of the nose.
- Add the mouth: Draw the mouth on the line you marked earlier, typically starting with the center of the upper lip.
- Outline the ears: The tops of the ears usually align with the eyebrows, while the bottoms align with the base of the nose.
- Refine and add details: Once you have the basic structure in place, begin refining your lines and adding details such as hair, eyebrows, and any unique features of your subject.
Remember, this is a basic guide, and as you progress, you’ll develop your own techniques and style for approaching head drawing.
Advanced Head Drawing Techniques for Experts
Once you’ve mastered the basics, it’s time to explore advanced techniques that will take your head drawings to the next level:
- Mastering expressions: Study the muscles of the face and how they interact to create various expressions. Practice drawing the same face with different emotions to understand how features shift and change.
- Exploring diverse angles: Challenge yourself by drawing heads from unusual angles, such as extreme top-down or bottom-up views. This will enhance your understanding of head structure and improve your ability to draw from imagination.
- Rendering textures: Focus on accurately depicting different textures like skin, hair, and facial hair. Experiment with various pencil techniques or digital brushes to achieve realistic results.
- Playing with light and shadow: Develop your skills in creating dramatic lighting effects. Study how light interacts with the planes of the face and practice creating depth through strategic shading.
- Capturing unique features: Learn to identify and emphasize the distinctive characteristics that make each face unique. This could include wrinkles, scars, or specific facial structures.
- By incorporating these advanced techniques into your practice, you’ll be able to create head drawings that are not only accurate but also full of character and life.
Credit: 张添中素描
Common Mistakes to Avoid in Head Drawing
As you practice head drawing, be aware of these common pitfalls:
- Incorrect proportions: Ensure you’re not making the forehead too small or the jaw too large. Double-check your measurements against the guidelines we discussed earlier.
- Symmetry issues: While faces aren’t perfectly symmetrical, major discrepancies can make a drawing look off. Use guidelines to maintain balance.
- Flat features: Remember that the face has depth. Don’t draw features as if they’re pasted onto a flat surface; consider the curves and planes of the face.
- Overlooking the neck: The neck plays a crucial role in head positioning. Don’t neglect it or make it too thin or too thick.
- Harsh outlines: Avoid using hard, dark lines to outline the entire face. Instead, use varying line weights and shading to create form.
By being mindful of these common errors, you’ll be able to improve your head drawings more quickly and effectively.
Digital Tools and Resources for Head Drawing
In today’s digital age, artists have access to a wealth of tools and resources that can enhance their head drawing skills:
- Digital drawing tablets: Devices like Wacom tablets or iPad Pro with Apple Pencil offer pressure sensitivity and precision for digital art creation.
- Software options:
- Adobe Photoshop: Industry-standard for digital painting and photo editing
- Procreate: Popular among iPad users for its intuitive interface and powerful brushes
- Clip Studio Paint: Favored by many comic artists and illustrators for its specialized tools
- Online tutorials and courses: Platforms like Skillshare, Udemy, and YouTube offer a plethora of instructional content for artists of all levels.
- 3D modeling software: Programs like ZBrush or Blender can help you understand head structure from all angles.
- Reference libraries: Websites like Line of Action or QuickPoses provide timed practice sessions with a variety of reference images.
While these digital tools can be incredibly helpful, remember that they are meant to complement, not replace, traditional drawing skills. Balancing digital and traditional techniques will make you a more versatile artist.
Practice Exercises to Improve Your Head Drawing Skills
Consistent practice is key to improving your head drawing abilities. Here are some exercises to incorporate into your routine:
- Timed sketches: Set a timer for 1, 5, or 10 minutes and draw as many heads as you can. This helps you focus on capturing the essence of the face quickly.
- Mirror drawing: Sketch your own face while looking in a mirror. This improves your observational skills and helps you understand facial structure better.
- Upside-down drawing: Try drawing a portrait from a reference that’s turned upside down. This forces you to focus on shapes and values rather than preconceived notions of what a face should look like.
- Feature focus: Spend dedicated sessions practicing individual features like eyes, noses, or mouths. This targeted practice will improve your overall head drawing skills.
- Gesture drawings of heads: Quick, loose sketches that capture the overall movement and energy of the head and neck. This helps in understanding the flow and dynamism of head positions.
- Study master works: Analyze and copy drawings by renowned artists. This exposes you to different styles and techniques, broadening your artistic vocabulary.
Remember to vary your subjects, including people of different ages, ethnicities, and facial structures. This diversity will enhance your ability to draw any type of face accurately.
From Sketches to Finished Portraits: Bringing Your Head Drawings to Life
As you become more confident in your head drawing skills, you’ll want to create polished, finished portraits. Here’s how to elevate your sketches:
- Refine your linework: Clean up your initial sketch, focusing on the most important lines that define the face’s structure and features.
- Develop values: Begin adding shading to create depth and dimension. Start with the darkest areas and gradually work towards the highlights.
- Pay attention to edges: Vary the softness and hardness of edges to create a more realistic look. Soft edges can suggest areas of shadow, while hard edges can define key features.
- Add details strategically: Focus on the areas that will have the most impact, such as the eyes, mouth, and any unique characteristics of your subject.
- Consider the background: Decide whether to keep the background simple or to integrate it with the portrait. The background can greatly influence the mood of your piece.
- Final touches: Add highlights, adjust contrasts, and make any final refinements to bring your portrait to completion.
Remember that creating a finished portrait takes time and patience. Don’t rush the process; enjoy each stage of bringing your drawing to life.
Conclusion: Nurturing Your Head Drawing Journey
Mastering the art of head drawing is a lifelong journey filled with continuous learning and improvement. As you progress, you’ll discover that each face you draw presents unique challenges and opportunities for growth.
Keep practicing regularly, experiment with different techniques, and don’t be afraid to step out of your comfort zone. Whether you’re aiming to create realistic portraits or develop a stylized approach, the fundamental skills you’ve learned here will serve as a strong foundation.
Remember that every artist’s journey is unique. Embrace your individual style and let it shine through in your head drawings. With dedication and persistence, you’ll see remarkable progress in your ability to capture the essence of the human face.
Ready to take your head drawing skills to the next level? Start a daily sketching habit today! Set aside just 15 minutes each day to practice the techniques you’ve learned. Remember, every master was once a beginner – your journey to becoming an exceptional portrait artist starts now!

